Images of 2A Boomerang Gallery There are 69 images of this gallery and this is page 3 of 6. View a random image of this gallery.

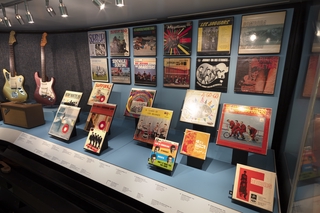
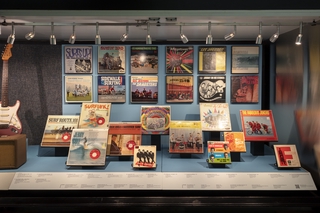
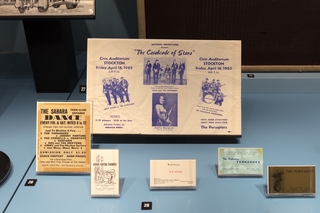
Installation view of "Surf’s Up! Instrumental Rock n’ Roll"
.
Image by SFO Museum. It was taken on Nov 6, 2020.
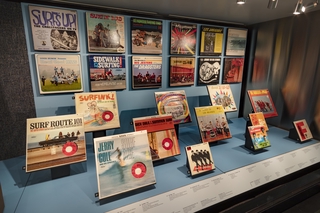
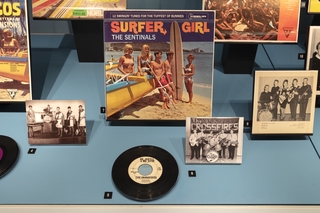
Installation view of "Surf’s Up! Instrumental Rock n’ Roll"
.
Image by SFO Museum. It was taken on Nov 6, 2020.
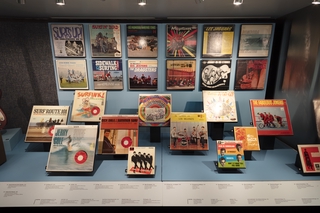
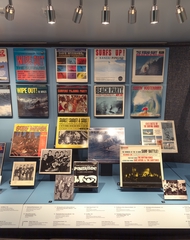
Installation view of "Surf’s Up! Instrumental Rock n’ Roll"
.
Image by SFO Museum. It was taken on Nov 6, 2020.
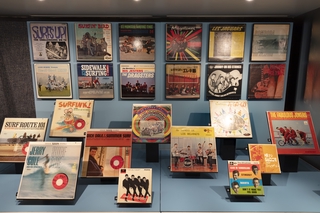
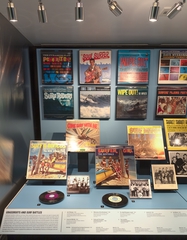
Installation view of "Surf’s Up! Instrumental Rock n’ Roll"
.
Image by SFO Museum. It was taken on Nov 6, 2020.
Installation view of "Surf’s Up! Instrumental Rock n’ Roll"
.
Image by SFO Museum. It was taken on Nov 6, 2020.
Installation view of "Surf’s Up! Instrumental Rock n’ Roll"
.
Image by SFO Museum. It was taken on Nov 6, 2020.
Installation view of "Surf’s Up! Instrumental Rock n’ Roll"
.
Image by SFO Museum. It was taken on Nov 6, 2020.
Installation view of "Surf’s Up! Instrumental Rock n’ Roll"
.
Image by SFO Museum. It was taken on Nov 6, 2020.
Installation view of "Surf’s Up! Instrumental Rock n’ Roll"
.
Image by SFO Museum. It was taken on Nov 6, 2020.

Installation view of "Surf’s Up! Instrumental Rock n’ Roll"
.
Image by SFO Museum. It was taken on Nov 6, 2020.

Installation view of "Surf’s Up! Instrumental Rock n’ Roll"
.
Image by SFO Museum. It was taken on Nov 6, 2020.
Installation view of "Surf’s Up! Instrumental Rock n’ Roll"
.
Image by SFO Museum. It was taken on Nov 6, 2020.