Images of G-01 International North Wall There are 179 images of this gallery and this is page 4 of 15. View a random image of this gallery.
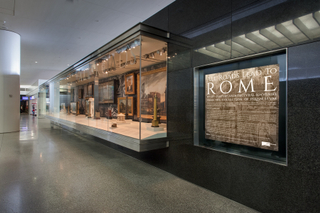
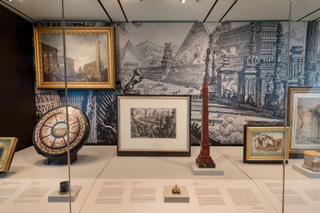
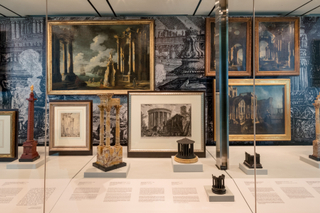
Installation view of "All Roads Lead to Rome: 17th - 19th Century...
.
Image by SFO Museum. It was taken on Feb 10, 2017.
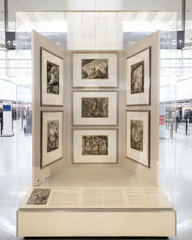
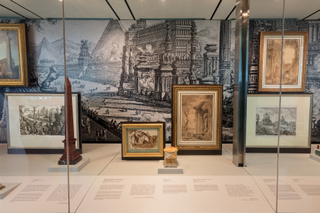
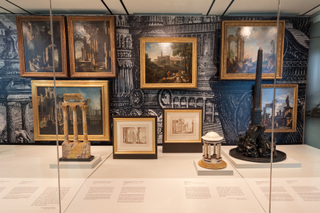
Installation view of "All Roads Lead to Rome: 17th - 19th Century...
.
Image by SFO Museum. It was taken on Feb 10, 2017.
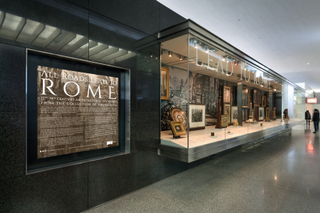
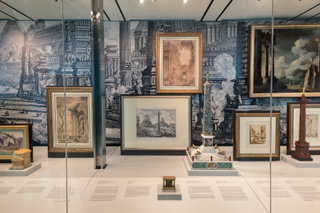
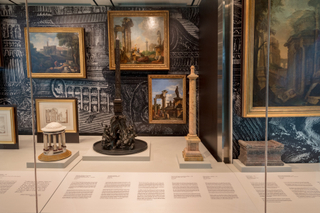
Installation view of "All Roads Lead to Rome: 17th - 19th Century...
.
Image by SFO Museum. It was taken on Feb 10, 2017.
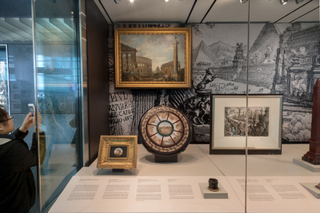
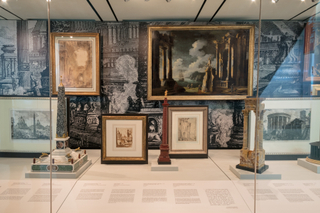
Installation view of "All Roads Lead to Rome: 17th - 19th Century...
.
Image by SFO Museum. It was taken on Feb 10, 2017.
Installation view of "All Roads Lead to Rome: 17th - 19th Century...
.
Image by SFO Museum. It was taken on Feb 10, 2017.
Installation view of "All Roads Lead to Rome: 17th - 19th Century...
.
Image by SFO Museum. It was taken on Feb 10, 2017.
Installation view of "All Roads Lead to Rome: 17th - 19th Century...
.
Image by SFO Museum. It was taken on Feb 10, 2017.
Installation view of "All Roads Lead to Rome: 17th - 19th Century...
.
Image by SFO Museum. It was taken on Feb 10, 2017.
Installation view of "All Roads Lead to Rome: 17th - 19th Century...
.
Image by SFO Museum. It was taken on Feb 10, 2017.

Installation view of "All Roads Lead to Rome: 17th - 19th Century...
.
Image by SFO Museum. It was taken on Feb 10, 2017.
Installation view of "All Roads Lead to Rome: 17th - 19th Century...
.
Image by SFO Museum. It was taken on Feb 10, 2017.
Installation view of "All Roads Lead to Rome: 17th - 19th Century...
.
Image by SFO Museum. It was taken on Feb 10, 2017.