Images of SFO Terminal Complex There are 1,489 images of this building and this is page 18 of 125. View a random image of this building.
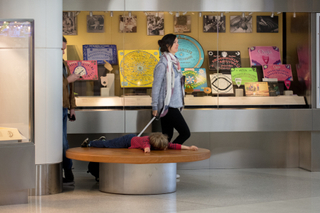
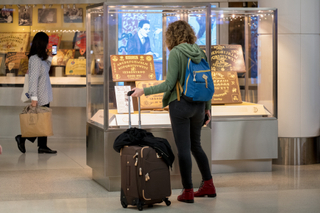
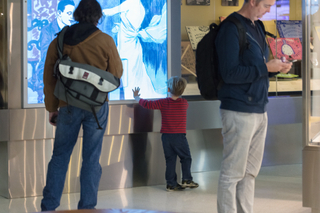
Installation view of "The Mysterious Talking Board: Ouija and Beyond"
.
Image by SFO Museum. It was taken on Oct 25, 2016.
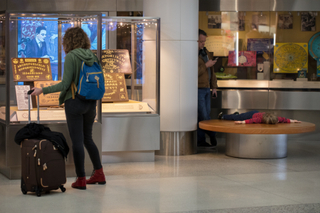
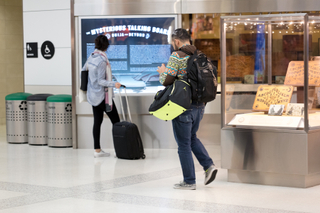
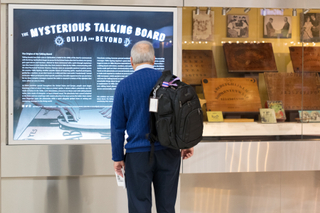
Installation view of "The Mysterious Talking Board: Ouija and Beyond"
.
Image by SFO Museum. It was taken on Oct 25, 2016.
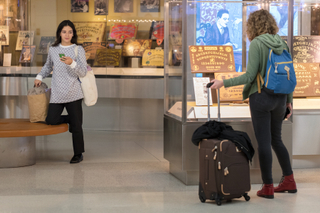
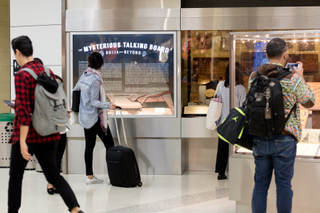
Installation view of "The Mysterious Talking Board: Ouija and Beyond"
.
Image by SFO Museum. It was taken on Oct 25, 2016.
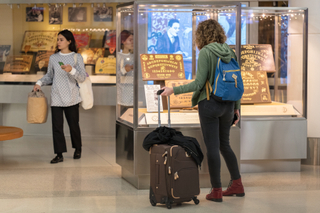
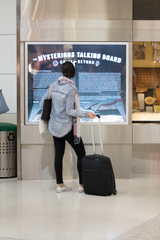
Installation view of "The Mysterious Talking Board: Ouija and Beyond"
.
Image by SFO Museum. It was taken on Oct 25, 2016.
Installation view of "The Mysterious Talking Board: Ouija and Beyond"
.
Image by SFO Museum. It was taken on Oct 25, 2016.
Installation view of "The Mysterious Talking Board: Ouija and Beyond"
.
Image by SFO Museum. It was taken on Oct 25, 2016.
Installation view of "The Mysterious Talking Board: Ouija and Beyond"
.
Image by SFO Museum. It was taken on Oct 25, 2016.
Installation view of "The Mysterious Talking Board: Ouija and Beyond"
.
Image by SFO Museum. It was taken on Oct 25, 2016.
Installation view of "The Mysterious Talking Board: Ouija and Beyond"
.
Image by SFO Museum. It was taken on Oct 25, 2016.
Installation view of "The Mysterious Talking Board: Ouija and Beyond"
.
Image by SFO Museum. It was taken on Oct 25, 2016.
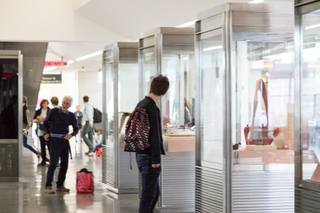
Installation view of "A Modern Approach: Mid-century Design"
.
Image by SFO Museum. It was taken on Sep 9, 2016.
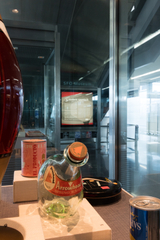
Installation view of "A Modern Approach: Mid-century Design"
.
Image by SFO Museum. It was taken on Sep 9, 2016.