Images of SFO Terminal Complex There are 723 images of this building and this is page 33 of 61. View a random image of this building.
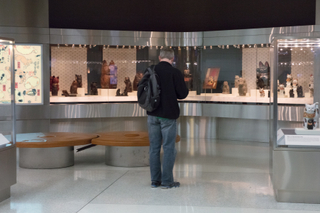
Installation view of "Maneki Neko: Japan’s Beckoning Cat"
.
Image by SFO Museum. It was taken on Feb 7, 2018.
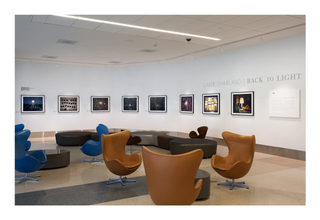
Installation view of "Caleb Charland: Back to Light"
.
Image by SFO Museum. It was taken on Jan 19, 2018.

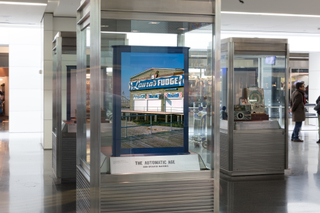
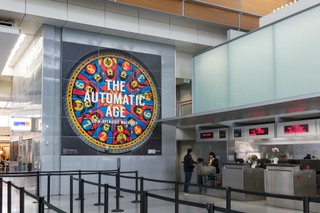
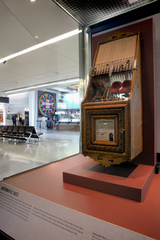
Installation view of "The Automatic Age: Coin-Operated Machines"
.
Image by SFO Museum. It was taken on Dec 27, 2017.
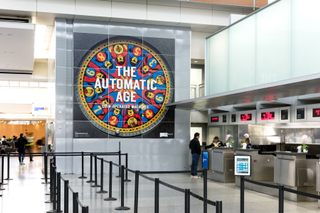
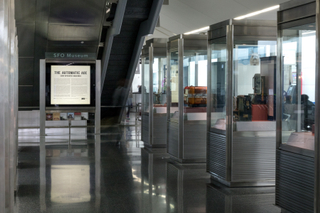
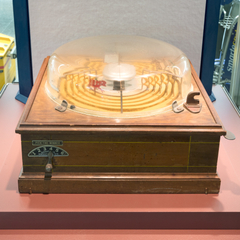
Installation view of "The Automatic Age: Coin-Operated Machines"
.
Image by SFO Museum. It was taken on Dec 27, 2017.
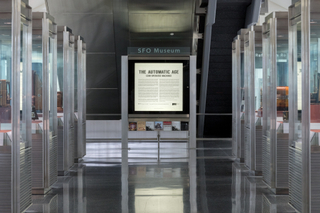
Installation view of "The Automatic Age: Coin-Operated Machines"
.
Image by SFO Museum. It was taken on Dec 27, 2017.
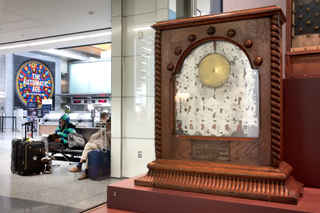
Installation view of "The Automatic Age: Coin-Operated Machines"
.
Image by SFO Museum. It was taken on Dec 27, 2017.
Installation view of "The Automatic Age: Coin-Operated Machines"
.
Image by SFO Museum. It was taken on Dec 27, 2017.
Installation view of "The Automatic Age: Coin-Operated Machines"
.
Image by SFO Museum. It was taken on Dec 27, 2017.
Installation view of "The Automatic Age: Coin-Operated Machines"
.
Image by SFO Museum. It was taken on Dec 27, 2017.
Installation view of "The Automatic Age: Coin-Operated Machines"
.
Image by SFO Museum. It was taken on Dec 27, 2017.
Installation view of "The Automatic Age: Coin-Operated Machines"
.
Image by SFO Museum. It was taken on Dec 27, 2017.

Installation view of "The Automatic Age: Coin-Operated Machines"
.
Image by SFO Museum. It was taken on Dec 27, 2017.